
How to Integrate UPI Payments in an Android App – Complete Guide
Learn how to integrate UPI payments in an Android app using UPI Intent, Dynamic UPI QR and payment APIs. Complete guide for developers and businesses.
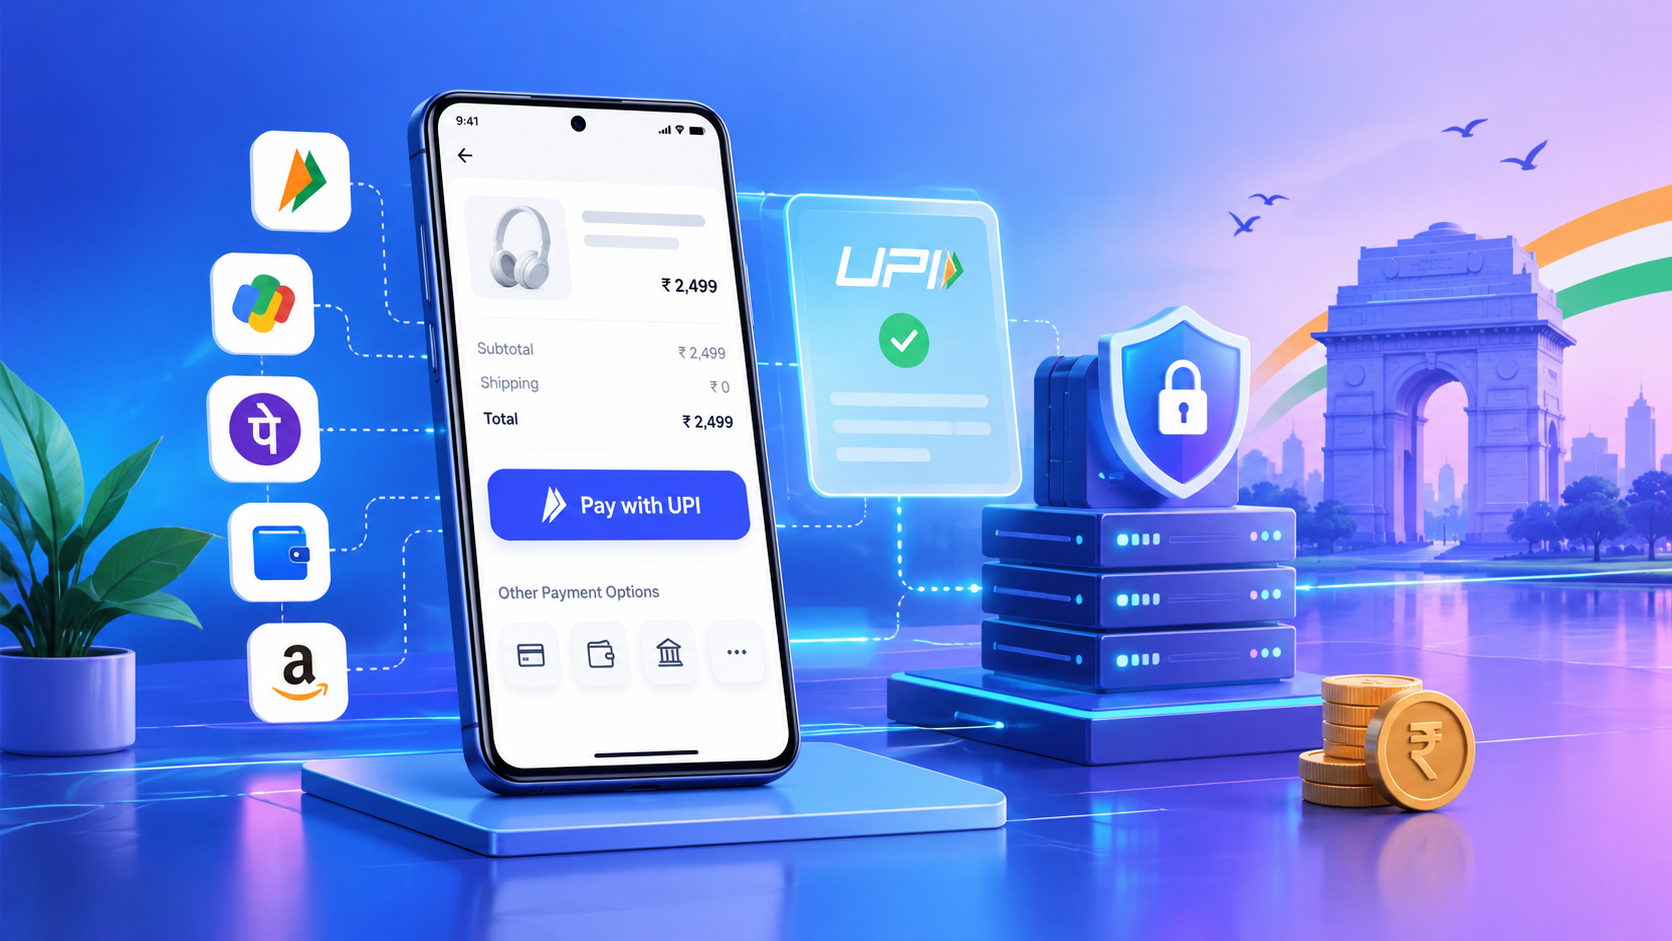
How to Integrate UPI Payments in an Android App – Complete Guide
If you are building an Android app that sells products, subscriptions, services, bookings or digital products, accepting UPI payments can make the checkout process simple for Indian customers.
UPI has become a common payment method for online transactions in India. But adding a UPI payment option to an Android application is more than simply displaying a UPI ID.
A proper UPI payment integration should handle payment initiation, user interaction, transaction status, verification and order updates.
In this guide, we will explain how to integrate UPI payments in an Android app, what UPI Intent means, how Dynamic UPI QR can be used, how payment verification works and what developers should consider before going live.
What Is UPI Payment Integration in an Android App?
UPI payment integration means connecting your Android application with a UPI payment flow so customers can make payments from within or through your application.
Depending on your implementation, users may be offered options such as:
-
UPI Intent
-
Dynamic UPI QR
-
Merchant UPI ID
-
Payment API
-
Payment status API
-
Webhook-based payment updates
A simple customer flow can look like this:
Android App → Select UPI → UPI Payment Flow → Customer Completes Payment → Payment Verification → Order Confirmation
The exact process depends on the payment provider and integration method.
Why Add UPI Payments to an Android App?
For businesses operating in India, UPI can be an important payment option.
Adding UPI payments can help create a checkout experience where customers don't have to manually enter bank details.
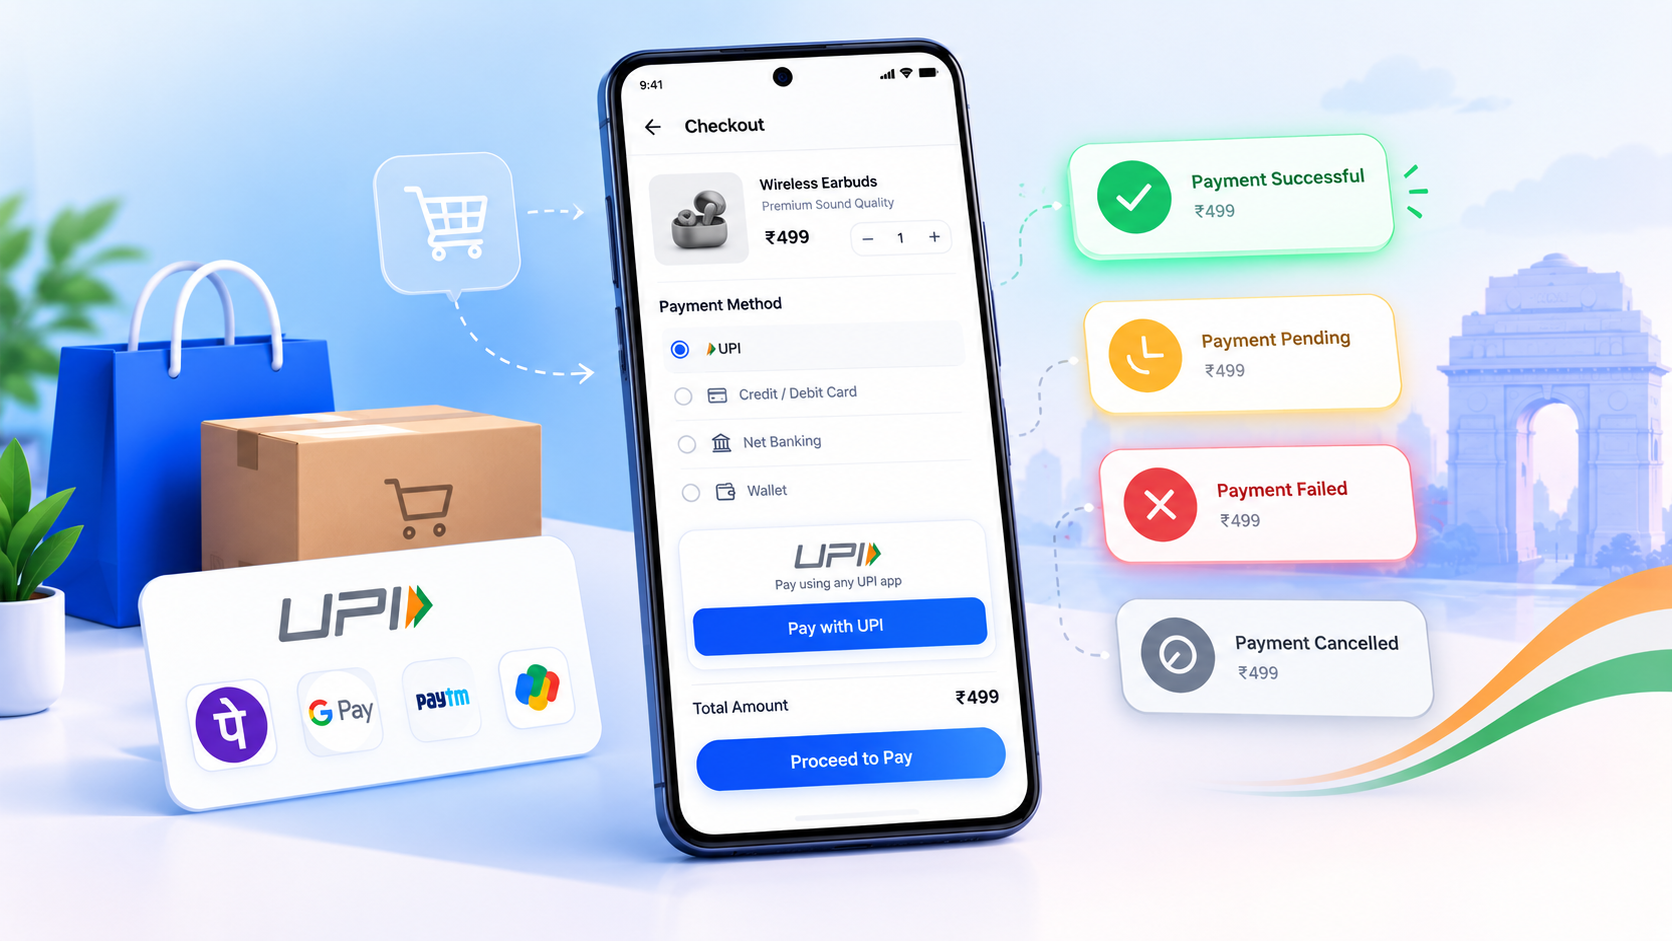
For example, a customer buying a ₹499 product from your app could see:
Pay ₹499 with UPI
They can then use a supported UPI payment flow to complete the transaction.
For an app developer, the important part is not only starting the payment but also knowing what happened after the customer attempted it.
Was it:
-
Successful?
-
Failed?
-
Cancelled?
-
Pending?
Your application needs to handle these states correctly.
Common Ways to Integrate UPI in Android
There are several approaches businesses can use.
1. UPI Intent
UPI Intent can allow an Android application to hand the payment over to a supported UPI application installed on the user's device.
The basic flow can be:
Your App → UPI App → Customer Approves Payment → Return to Your App
This can provide a convenient experience on supported devices.
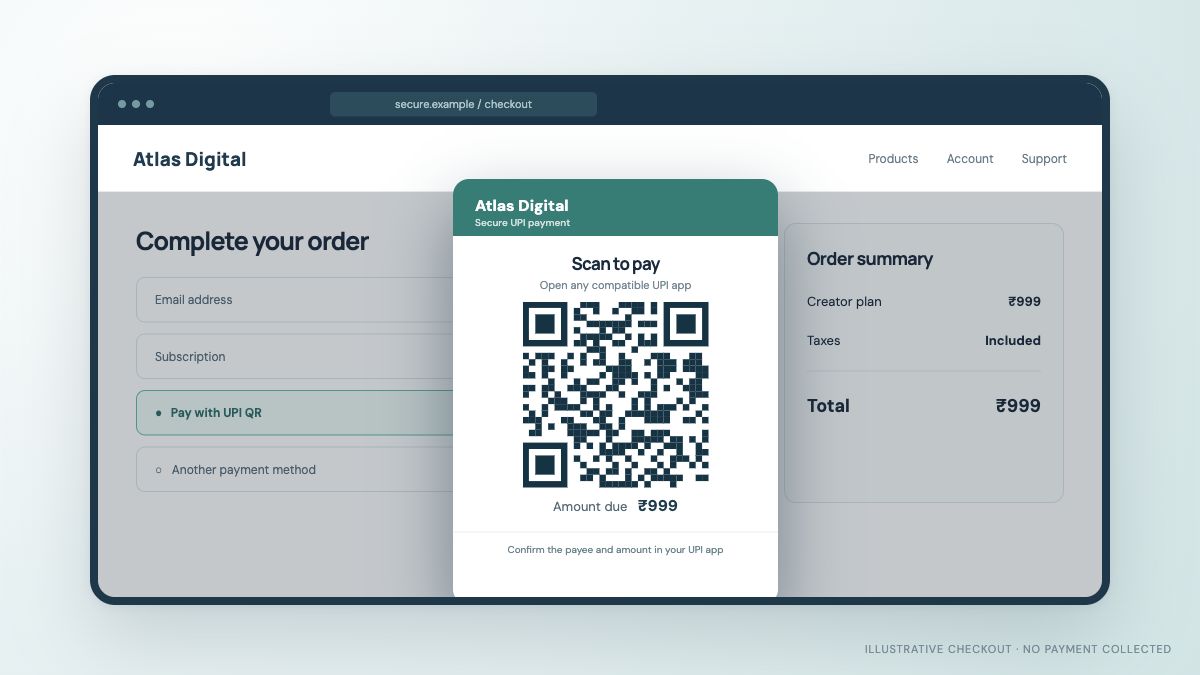
2. Dynamic UPI QR
Another option is to generate a payment-specific QR code.
The customer can scan the QR code using a compatible UPI application.
This approach can be useful when:
-
The user has another phone
-
QR scanning is convenient
-
You want to display an order-specific payment request
-
Your payment provider supports Dynamic QR
3. UPI Payment API
Businesses can also use a UPI Payment API to create payment requests and receive payment information programmatically.
This approach is useful for applications that need more automation.
A typical flow could be:
Android App → Backend → Payment API → Payment Request → Customer → Payment Status → Backend
How UPI Intent Works in Android
Let's look at a simplified UPI Intent flow.
The Android application creates a UPI payment request.
The request can contain information such as:
-
Merchant UPI ID
-
Amount
-
Transaction reference
-
Description
The application then launches a compatible UPI payment application.
The user selects or confirms the payment.
After the payment attempt, the user may return to your application.
However, developers should not assume that the response from the mobile application alone is sufficient proof that money has been received.
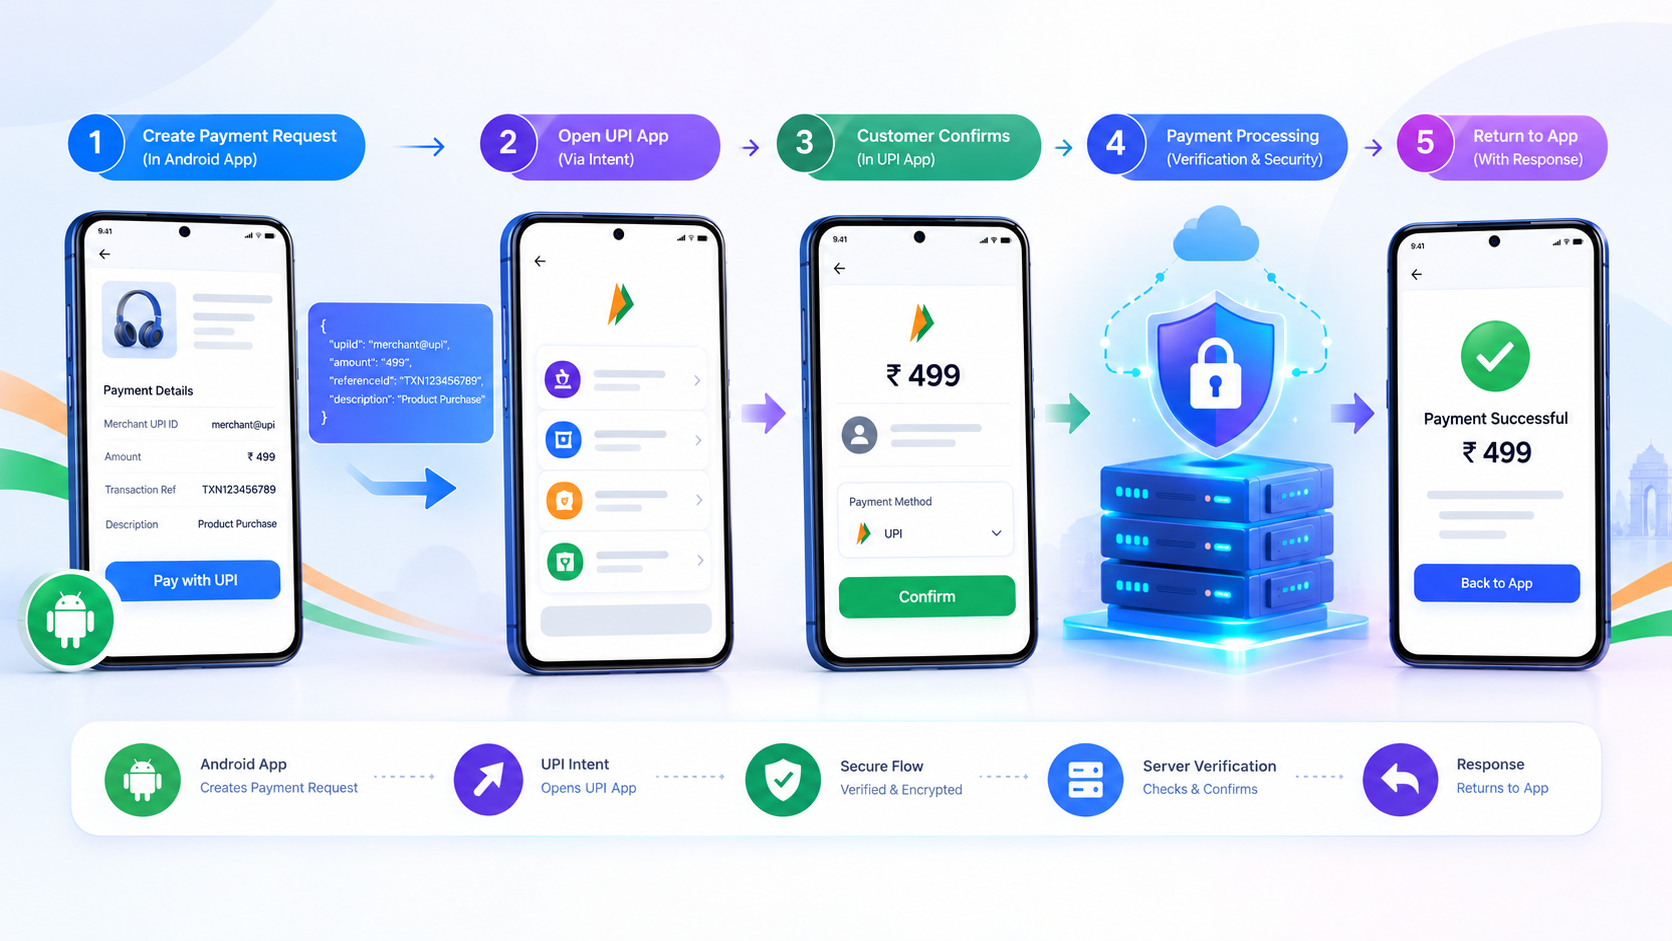
Server-side verification is important.
Step-by-Step UPI Integration Flow
Step 1: Create Your Order
When a customer selects a product, first create an order on your backend.
Example:
Order ID: ORD10245
Amount: ₹499
Status: Pending
The order should have a unique identifier.
Step 2: Create a Payment Request
Your backend can create the payment request through the supported payment API or integration method.
The payment request should be associated with the order.
Step 3: Display UPI Payment Option
Your Android app can show:
Pay with UPI
Depending on your implementation, the user may see:
-
UPI Intent
-
QR Code
-
UPI ID
-
Other supported payment methods
Step 4: Customer Completes Payment
The customer completes the transaction using their UPI application.
The payment may be:
Successful / Failed / Pending / Cancelled
Step 5: Verify Payment
Your backend should verify the payment using the supported payment status mechanism.
Do not rely only on:
"Payment successful" shown inside the mobile application.
Your backend should confirm the transaction before delivering the product or service.
Step 6: Update the Order
After successful verification:
Payment Status = SUCCESS
Order Status = PAID
Your application can then provide the purchased product or service.
Why Server-Side Verification Matters
One of the most important parts of UPI integration is payment verification.
Imagine your Android app receives a response that appears to indicate payment success.
Should you immediately activate a ₹999 subscription?
Not necessarily.
Your backend should independently verify the transaction through the supported payment provider's API or webhook mechanism.
A safer architecture is:
Android App
     ↓
Create Order
     ↓
Backend
     ↓
UPI Payment
     ↓
Customer
     ↓
Payment Completed
     ↓
Payment Provider
     ↓
Webhook / Status API
     ↓
Backend Verification
     ↓
Activate Order
This helps prevent incorrect order updates.
Dynamic UPI QR in Android Apps
Dynamic QR can also be useful inside an Android application.
For example, your app can generate a QR for:
Order #4589 — ₹799
The customer can scan that QR from another UPI-enabled device.
Dynamic QR can be useful for:
-
Ecommerce apps
-
Service booking apps
-
Subscription apps
-
Education apps
-
Business applications
The exact QR functionality depends on the payment infrastructure you use.
UPI Payment Integration for Ecommerce Apps
Suppose you are developing an ecommerce Android application.
The checkout flow can look like:
Cart
 ↓
Checkout
 ↓
Select UPI
 ↓
Create Payment
 ↓
UPI Intent / Dynamic QR
 ↓
Customer Payment
 ↓
Verification
 ↓
Order Confirmation
This creates a connection between your payment transaction and ecommerce order.
That connection is important for automated payment reconciliation.
UPI Integration for Subscription Apps
UPI can also be used in applications that sell subscriptions.
For example:
Monthly Plan — ₹299
The application can create a payment request for the subscription.
After successful payment verification:
Payment Verified
       ↓
Subscription Activated
       ↓
Expiry Date Updated
The exact recurring-payment mechanism is different from a simple one-time UPI payment and should be implemented according to the supported payment infrastructure and applicable requirements.
Important Security Practices
When integrating payments into Android, security should be considered from the beginning.
Never Put Private API Keys in the App
Sensitive credentials should not be hardcoded into the Android application.
Use your backend for protected API operations.
Verify Payments on the Server
Don't trust only the Android client's response.
Use Unique Transaction IDs
Every order should have a unique reference.
Handle Duplicate Webhooks
Your backend should be able to safely process repeated notifications without creating duplicate transactions.
Handle Pending Payments
A pending payment should not automatically be treated as successful.
UPI Intent vs Dynamic QR in Android
| Feature | UPI Intent | Dynamic UPI QR |
|---|---|---|
| Android integration | Yes | Yes |
| Opens supported UPI app | Yes | No |
| QR scanning | No | Yes |
| Useful on same phone | Often convenient | Depends on setup |
| Another device required | Usually no | Can be useful |
| Payment-specific request | Can be | Can be |
| Automation | Provider dependent | Provider dependent |
Neither method is universally suitable for every use case.
Your choice should depend on your app, customers and payment infrastructure.
How UPI Gateway Can Simplify Android Integration
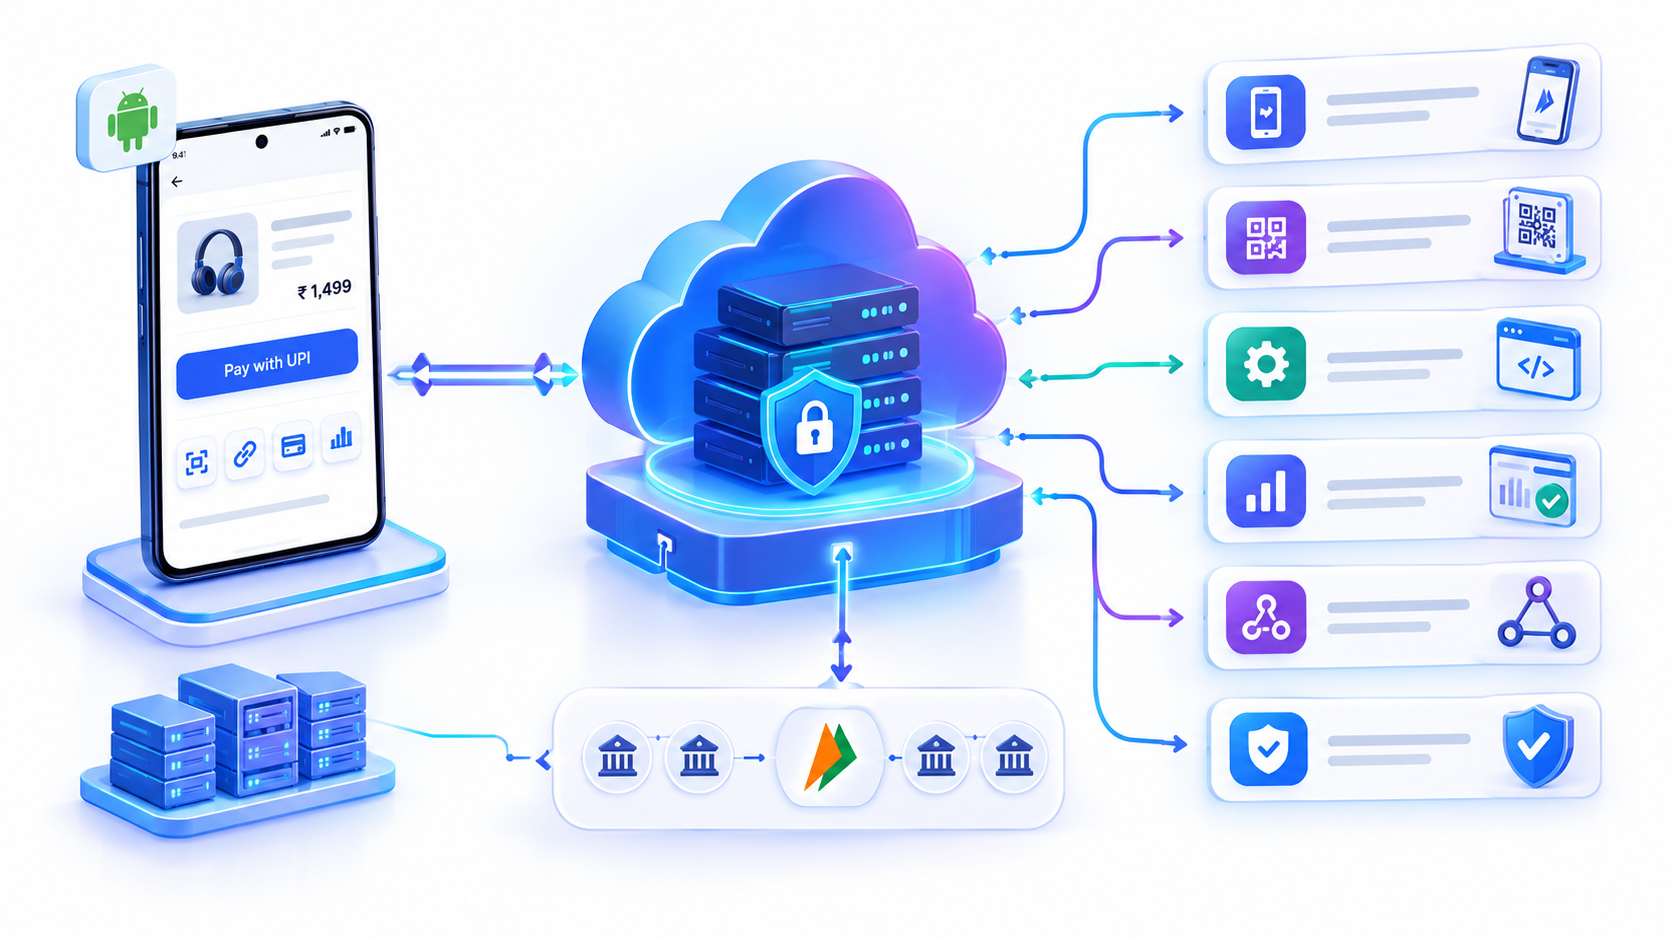
Instead of building every payment component yourself, a UPI-focused payment gateway can provide APIs and payment infrastructure for your application.
Depending on the provider, you may get access to:
-
Dynamic UPI QR
-
UPI Intent
-
Payment API
-
Payment status API
-
Webhooks
-
Automated verification
-
Merchant UPI integration
For developers, this can reduce the amount of payment-related infrastructure they need to build themselves.
Testing UPI Integration
Before launching your application, test different scenarios.
Test Successful Payment
Confirm that:
Payment → Verification → Order Paid
works correctly.
Test Failed Payment
Make sure the order doesn't get marked as paid.
Test Cancelled Payment
The application should return to the checkout or appropriate status screen.
Test Pending Payment
Verify that pending transactions aren't treated as successful.
Test Duplicate Notifications
Send repeated payment notifications and verify that your backend doesn't create duplicate order updates.
Test Network Failure
What happens if the customer completes payment but your application temporarily loses internet access?
Your backend payment status system should handle this situation.
Common UPI Integration Mistakes
Mistake 1: Trusting the App Response
Always verify payments through the appropriate server-side mechanism.
Mistake 2: No Backend
Payment processing should not depend entirely on Android-side code.
Mistake 3: No Transaction Reference
Without unique references, reconciliation becomes difficult.
Mistake 4: Ignoring Pending Transactions
A pending transaction isn't necessarily a successful transaction.
Mistake 5: No Webhook Handling
Where webhooks are supported, they can provide useful payment status updates.
Frequently Asked Questions
Can I integrate UPI payments directly into an Android app?
Yes. Android applications can implement supported UPI payment flows such as UPI Intent, Dynamic QR or API-based integrations.
What is UPI Intent in Android?
UPI Intent is a payment flow that can allow an Android application to launch or hand off a payment request to a compatible UPI application.
Can I use Dynamic UPI QR in an Android app?
Yes, when your payment infrastructure supports Dynamic UPI QR generation.
Do I need a backend for UPI integration?
For serious ecommerce or automated payment processing, a backend is strongly recommended for payment creation, verification and order management.
How do I verify UPI payments?
Payment verification can be performed using the supported payment status API, webhook or other verification mechanism provided by your payment infrastructure.
Can UPI payments be integrated into an ecommerce Android app?
Yes. UPI can be integrated into ecommerce checkout flows using supported UPI payment methods.
Final Thoughts
Adding UPI payments to an Android application isn't just about opening a UPI app or displaying a QR code.
A reliable integration needs to consider the complete payment lifecycle:
Create Order → Initiate Payment → Customer Pays → Verify Transaction → Update Order
For businesses building ecommerce apps, SaaS applications, booking platforms or other online services, a UPI Gateway can provide the APIs and payment infrastructure required to automate this process.
If you're looking for a UPI-focused payment solution, UPI-Gateway.in can help businesses integrate features such as UPI Intent, Dynamic UPI QR, payment APIs and payment status automation.
Start UPI Integration → Get Your UPI Gateway
Ready to connect UPI to your checkout?
JaduPe provides current service, eligibility and plan details. Review them before you begin.
Explore JaduPe ↗Related articles.
What Is a UPI Gateway? QR and Intent Payments Explained
Understand how a UPI checkout works on websites and apps, where QR and intent fit, and why payment verification matters after the customer approves.
Read article →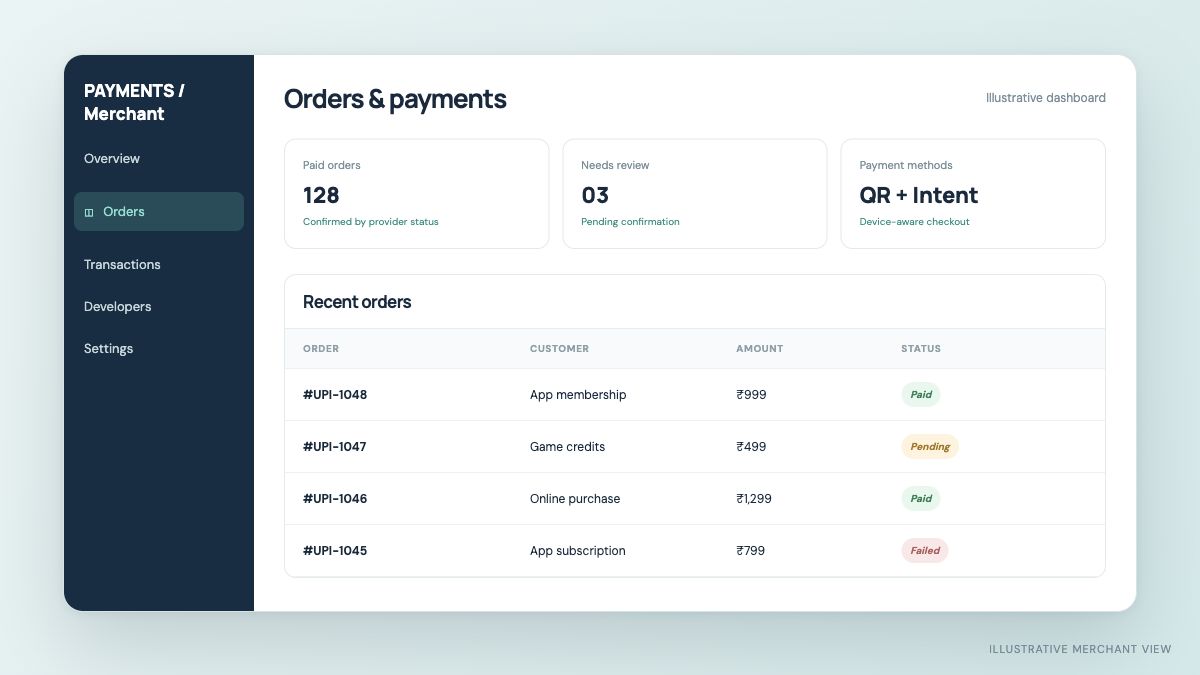
How to Choose a QR Payment Gateway for Your Website or App
A detailed checklist for comparing QR checkout, mobile UPI intent, merchant compatibility, order verification, support and “free” plan terms.
Read article →